
Introduzione
Segui questa guida per rimuovere o sostituire lo schermo del Google Pixel 4 XL.
A causa della progettazione del Pixel, dovrai rimuoverne il pannello posteriore per scollegare il connettore dello schermo.
Prima di iniziare questa procedura, assicurati di avere dell'adesivo di ricambio sia per il pannello posteriore che per lo schermo.
Questa procedura rimuoverà quasi sempre lo schermo del Pixel 4 XL distruggendolo. I pannelli OLED smettono di funzionare quando esposti ad ossigeno o umidità, e sono quindi sigillati in una copertura ermetica (questo è anche il motivo per cui i pannelli OLED diventano neri sotto una crepa nello schermo). è molto difficile sostituire solo il vetro anteriore: gli strati del pannello OLED del Pixel sono laminati col vetro e lo schermo viene rimosso come una sola unità.
Attenzione: Google avvisa che smontare il gruppo del laser anteriore può risultare in una pericolosa esposizione a delle emissioni laser invisibili ad infrarossi. Leggi le avvertenze sulla sicurezza qui.
-
-
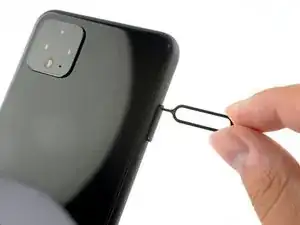
Infila uno strumento o una punta per l'estrazione delle schede SIM o l'estremità di una graffetta nel piccolo foro nel vassoio della scheda SIM sul bordo sinistro del telefono.
-
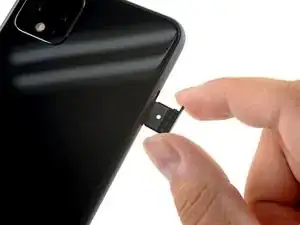
Premi con decisione per espellere il vassoio.
-
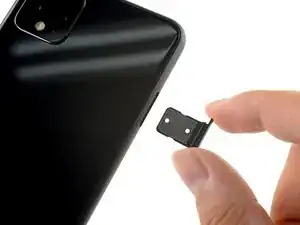
Rimuovi il vassoio della scheda SIM.
-
-
-
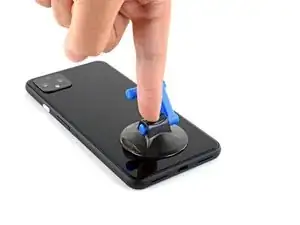
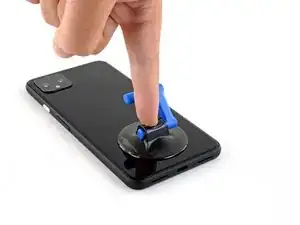
Applica una ventosa al bordo appena riscaldato premendola sul vetro il più vicino possibile al bordo.
-
-
-
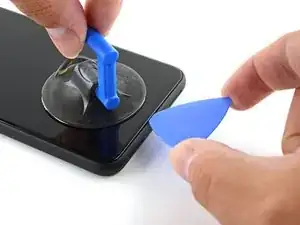
Tira la ventosa verso l'alto con forza elevata e costante per creare una fessura tra il pannello posteriore e il telaio.
-
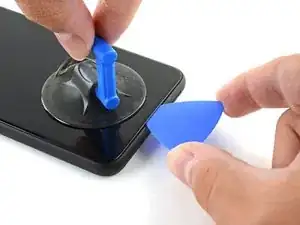
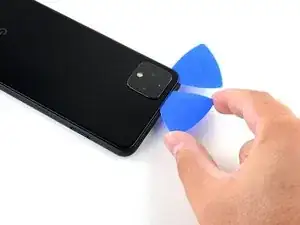
Infila la punta di un plettro nella fessura.
-
-
-
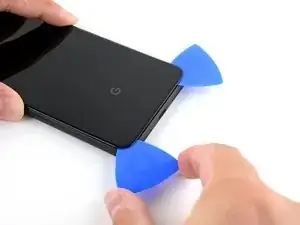
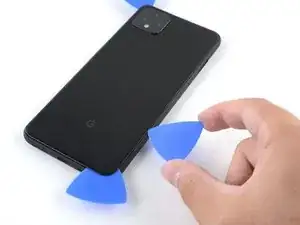
Fai scorrere il plettro sotto il bordo inferiore verso l'angolo sinistro per tagliare l'adesivo.
-
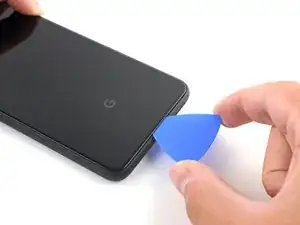
Ora fai scorrere il plettro sotto il vetro dall'angolo sinistro a quello destro per tagliare completamente l'adesivo sotto il bordo inferiore.
-
Lascia il plettro sotto l'angolo in basso a destra per evitare che l'adesivo si reincolli.
-
-
-
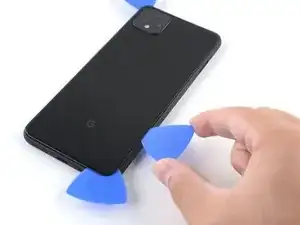
Infila un secondo plettro sotto il vetro sopra la porta di ricarica.
-
Fai scorrere il plettro verso l'angolo in basso a sinistra del telefono.
-
-
-
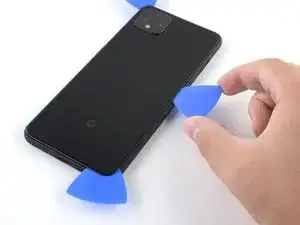
Fai scorrere il plettro attorno all'angolo in basso a sinistra e lungo il bordo sinistro del telefono per tagliare l'adesivo.
-
Fermati quando raggiungi l'angolo in alto a sinistra vicino alla camera e lascia il plettro infilato sotto il vetro.
-
-
-
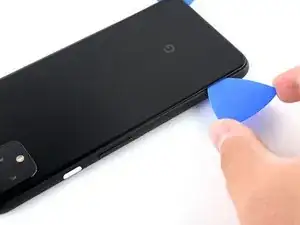
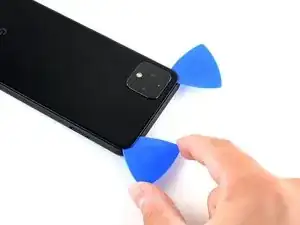
Con i primi due plettri ancora inseriti, infila un terzo plettro sotto la parte inferiore del bordo destro del vetro.
-
Fai scorrere il plettro verso l'angolo in alto a destra, tagliando l'adesivo sotto il bordo destro.
-
Fermati quando raggiungi l'angolo in alto a destra e lascia il plettro infilato sotto il vetro.
-
-
-
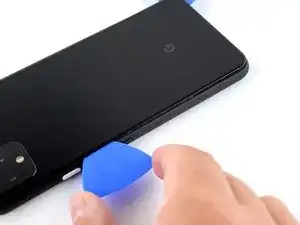
Fai scorrere il terzo plettro attorno all'angolo in alto a destra e lungo il bordo superiore, tagliando l'adesivo rimasto sotto il vetro.
-
-
-
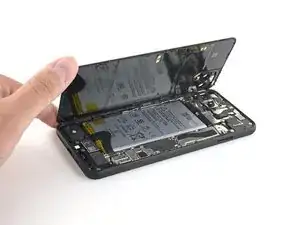
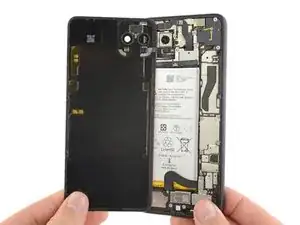
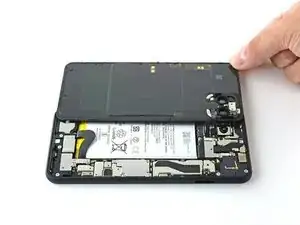
Una volta tagliato l'adesivo lungo tutto il perimetro del telefono, solleva attentamente il bordo destro del pannello posteriore in vetro, aprendolo come un libro.
-
Non cercare ancora di rimuovere del tutto il pannello: è ancora collegato al telefono.
-
-
-
Continua ad aprire il pannello posteriore finché riesci ad appoggiarlo al bordo sinistro del telefono, stando attento a tirare troppo i cavi a nastro ancora collegati.
-
-
-
Svita le quattro viti Torx T3 che tengono fermo la copertura del connettore della batteria:
-
Una vite da 1,8 mm
-
Una vite da 4,1 mm
-
Una vite da 4,4 mm
-
Una vite da 4,0 mm
-
-
-
Usando la punta di uno spudger, fai leva sul connettore della batteria per sollevarlo e scollegarlo dalla sua presa sulla scheda madre.
-
-
-
Usa la parte piatta di uno spudger per piegare all'indietro il cavo a nastro della batteria in modo che non faccia contatto durante la procedura.
-
-
-
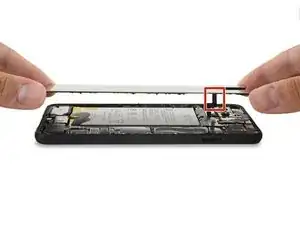
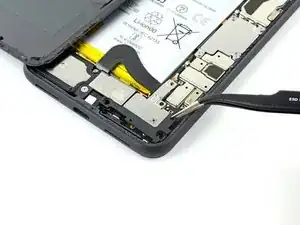
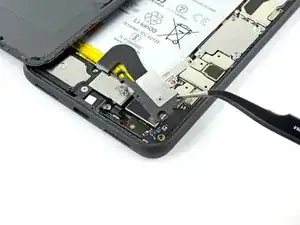
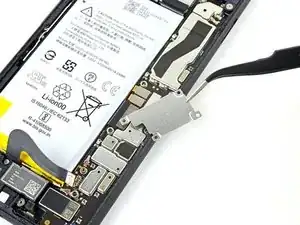
Usa un cacciavite Torx T3 per svitare le due viti da 4,1 mm che tengono ferma la copertura del connettore del pannello posteriore.
-
-
-
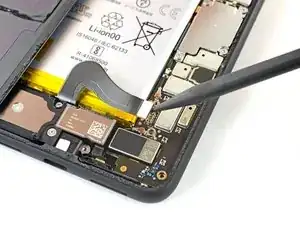
Usa la punta di uno spudger per sollevare e scollegare il connettore del pannello posteriore.
-
-
-
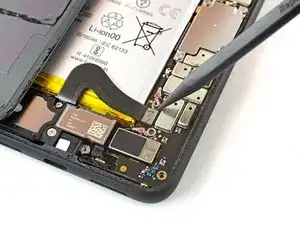
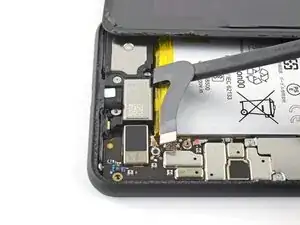
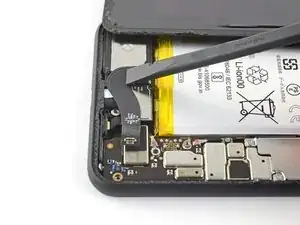
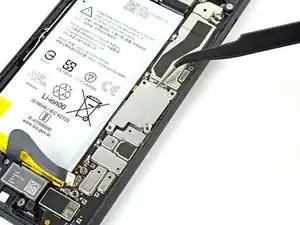
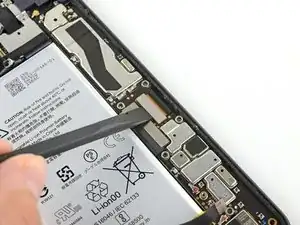
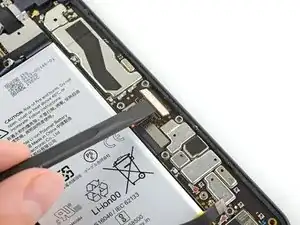
Solleva delicatamente la striscia adesiva estensibile della batteria per accedere alle viti sottostanti.
-
-
-
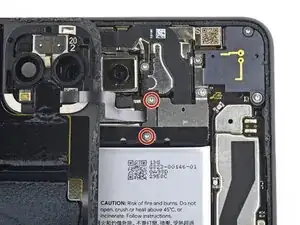
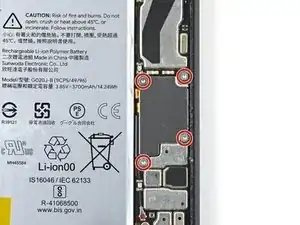
Svita le tre viti Torx T3 che tengono ferma la copertura dei connettori delle fotocamere posteriori:
-
Una vite da 2,7 mm
-
Una vite da 4,1 mm
-
Una vite da 4,2 mm
-
-
-
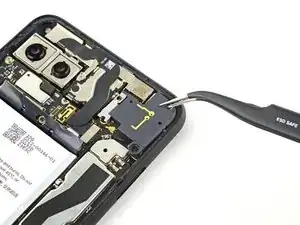
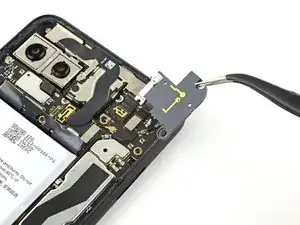
Usa un paio di pinzette per rimuovere la copertura dei connettori delle fotocamere posteriori.
-
-
-
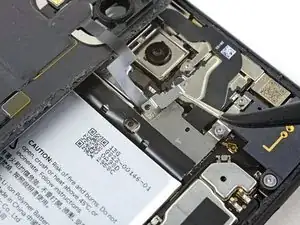
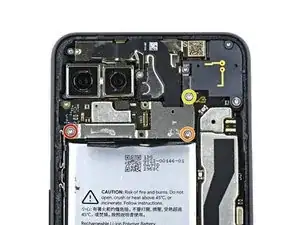
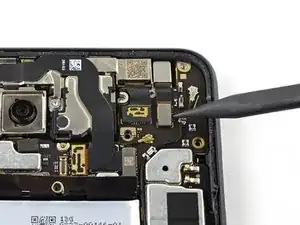
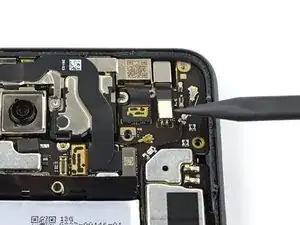
Svita le tre viti Torx T3 che tengono ferma la copertura del connettore della fotocamera anteriore:
-
Una vite da 4,1 mm
-
Una vite a spalla da 4,0 mm
-
Una vite a spalla da 4,1 mm
-
-
-
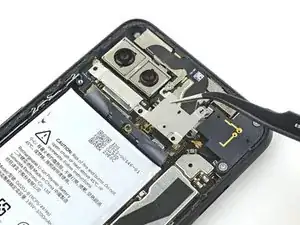
Usa un paio di pinzette per rimuovere la copertura del connettore della fotocamera anteriore.
-
-
-
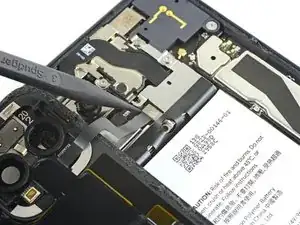
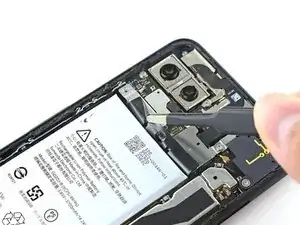
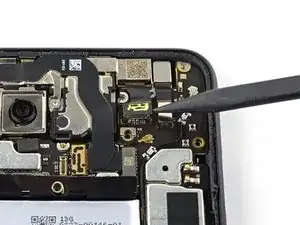
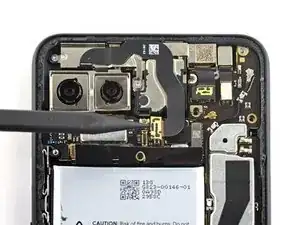
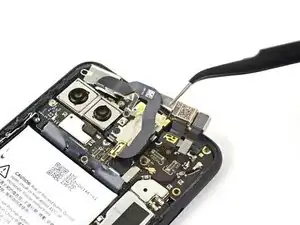
Usando la punta di uno spudger, fai leva sui connettori della fotocamera e dei sensori per scollegarli dalla scheda madre.
-
-
-
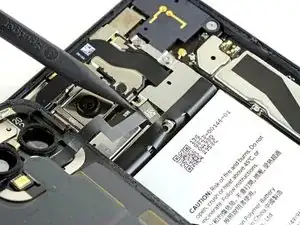
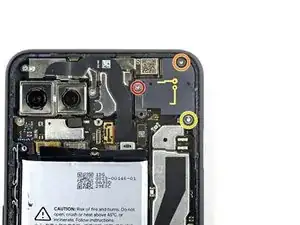
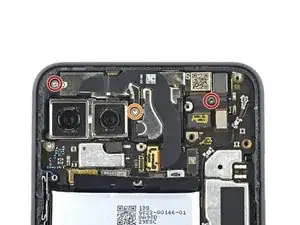
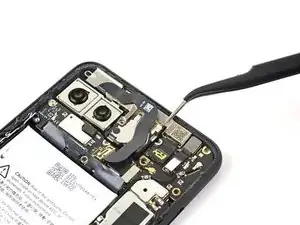
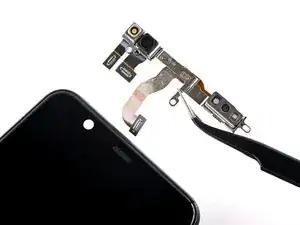
Svita le tre viti Torx T3 che tengono fermo il gruppo della fotocamera e dei sensori anteriori:
-
Due viti da 2,7 mm
-
Una vite da 3,1 mm
-
-
-
Usa un cacciavite Torx T3 per svitare le quattro viti da 3,5 mm che tengono ferma la copertura del connettore dello schermo.
-
-
-
Usa la parte piatta di uno spudger per scollegare il connettore dello schermo dalla scheda madre.
-
-
-
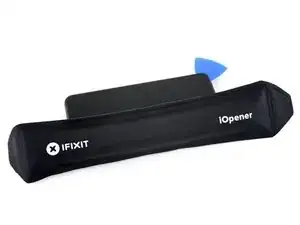
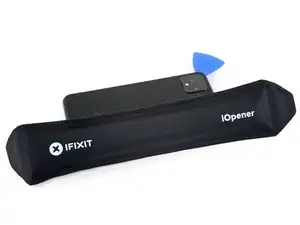
Prepara un iOpener e appoggialo al bordo destro dello schermo, vicino al tasto di accensione, per un minuto.
-
-
-
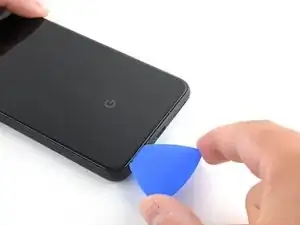
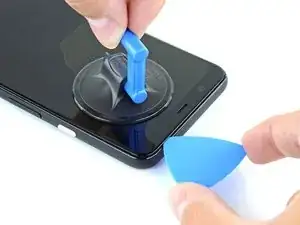
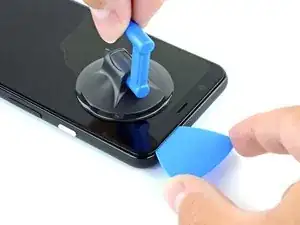
Fai aderire una ventosa al bordo scaldato dello schermo.
-
Tira la ventosa con forza costante per creare una fessura tra lo schermo e la cornice.
-
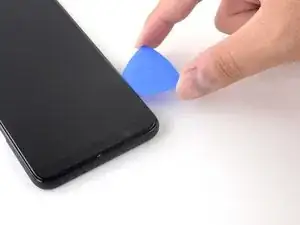
Infila la punta di un plettro nella fessura.
-
-
-
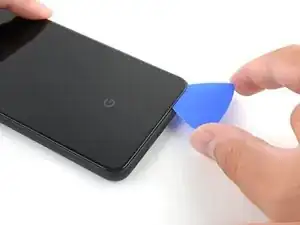
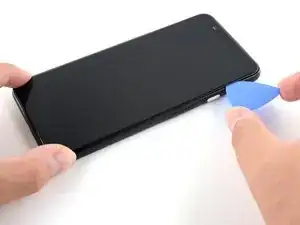
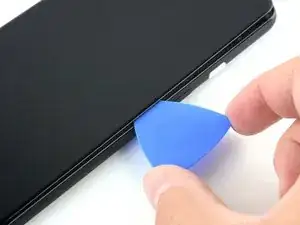
Fai scorrere il plettro tra lo schermo e la cornice verso l'angolo in basso del bordo destro per tagliare l'adesivo.
-
Lascia il plettro sotto l'angolo in basso a destra dello schermo.
-
-
-
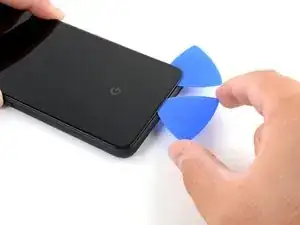
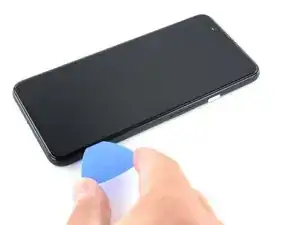
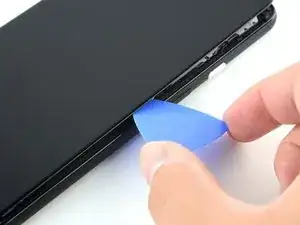
Infila un secondo plettro sotto l'angolo in alto a sinistra del telefono, vicino al foro della fotocamera anteriore.
-
Fai scorrere il plettro attorno all'angolo e poi sotto il bordo sinistro verso l'angolo in basso del telefono, fermandoti circa a metà e lasciando il plettro infilato lì sotto.
-
-
-
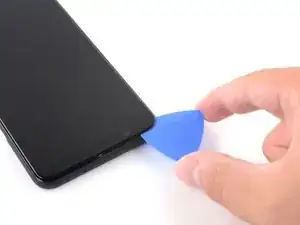
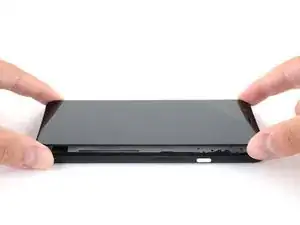
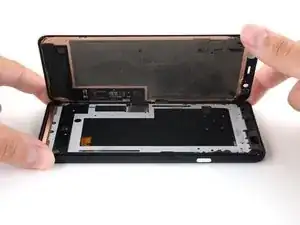
Infila un terzo plettro sotto lo schermo al centro del bordo destro del telefono e ruotalo per separare lo schermo.
-
-
-
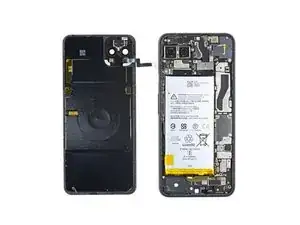
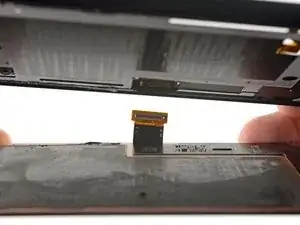
Fai passare il connettore dello schermo attraverso il foro vicino alla scheda madre per separare lo schermo dal telefono.
-
-
-
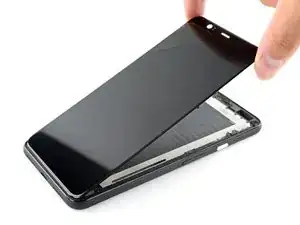
Rimuovi lo schermo.
-
Assicurati di provare la tua riparazione prima di incollare lo schermo con l'adesivo.
-


Confronta la tua parte di ricambio con quella originale: potrebbe essere necessario il trasferimento di alcuni componenti o la rimozione di protezioni adesive dalla nuova parte prima di installarla.
Per rimontare il tuo dispositivo, segui le istruzioni in ordine inverso.
Porta i tuoi rifiuti elettronici a un riciclatore certificato R2 o e-Stewards.
La riparazione non è andata come previsto? Prova delle soluzioni di base ai problemi, oppure rivolgiti alla nostra comunità Risposte per trovare aiuto.

10 commenti
If you’re only replacing the screen, can you just skip to Step 34?
Gerson -
Because the front-facing camera module is partially embedded in the screen, it’s recommended that you remove it before attempting a screen repair. You won’t have to worry about damaging or realigning the module during reassembly!
Hi, I bought an OEM screen to replace my broken one: how can I make sure the OEM replacement is an original one and not simply a comaptible screen of lower quality?
If I'm only replacing the front screen which steps do I need to do and which can I skip?
The Pixel 4 XL’s layout requires the rear panel to be removed in order to disconnect the display connector, which is necessary to do prior to removing & replacing the display. This guide is that entire process, so no steps should be skipped. Happy fixing!