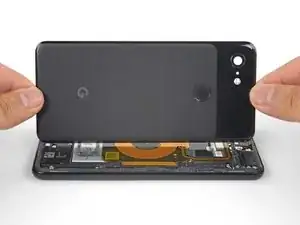
Introduzione
Segui questa guida per rimuovere e sostituire il sensore impronte digitali di un Google Pixel 3.
-
-
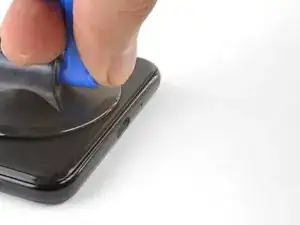
Applica una ventosa al bordo inferiore riscaldato del retro del telefono.
-
Tira sulla ventosa con una forza elevata e costante per creare una fessura.
-
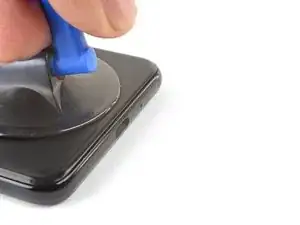
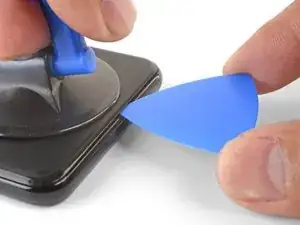
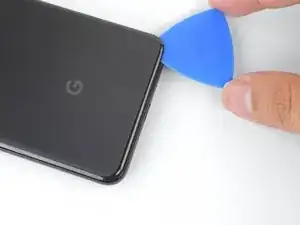
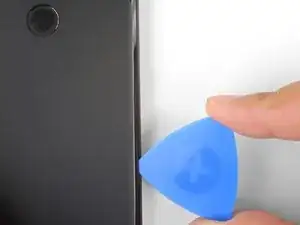
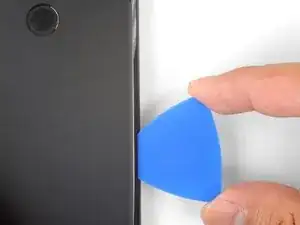
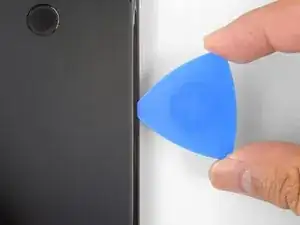
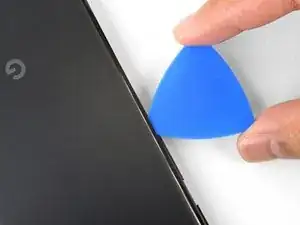
Inserisci un plettro di apertura nella fessura.
-
-
-
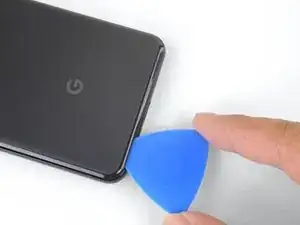
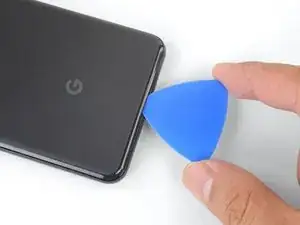
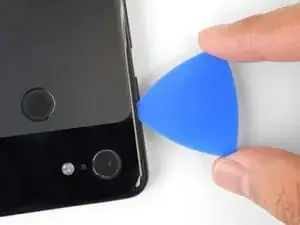
Taglia l'adesivo lungo il bordo inferiore del telefono e attorno all'angolo destro.
-
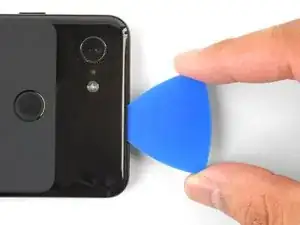
Lascia un plettro di apertura nel bordo inferiore per impedire che l'adesivo possa riattaccarsi.
-
-
-
Scalda il lato destro con un iOpener e continua a tagliare l'adesivo con un plettro di apertura.
-
-
-
Continua a scaldare e a tagliare lungo il resto del perimetro del telefono. Lascia un plettro in ciascun bordo per impedire che la colla possa riattaccarsi.
-
-
-
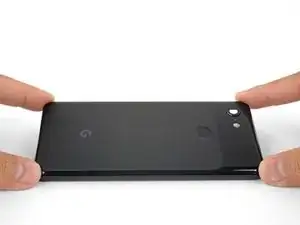
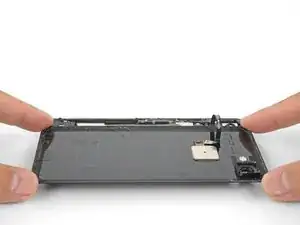
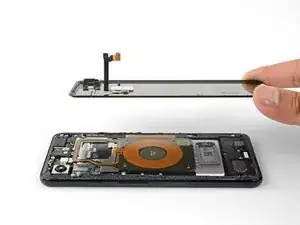
Una volta che hai tagliato l'adesivo lungo tutto il perimetro del telefono, solleva delicatamente il lato sinistro della cover posteriore.
-
Rovescia la cover posteriore lungo il suo lato lungo e appoggiala in modo che il cavo del sensore impronte digitali non resti in tensione.
-
-
-
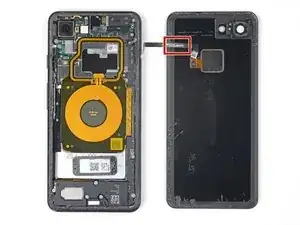
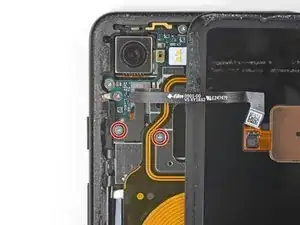
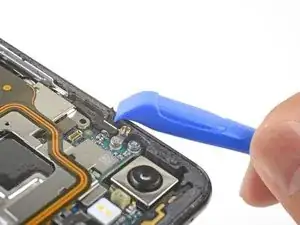
Rimuovi le due viti a croce Phillips lunghe 4,1 mm che fissano la staffa del connettore del sensore impronte digitali.
-
-
-
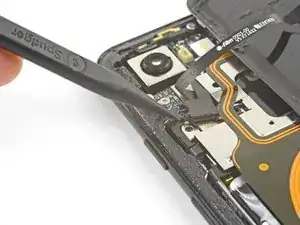
Usa la punta di uno spudger per far scorrere fuori da sotto la bobina NFC la staffa del connettore del sensore impronte digitali.
-
Rimuovi la staffa del connettore del sensore impronte digitali.
-
-
-
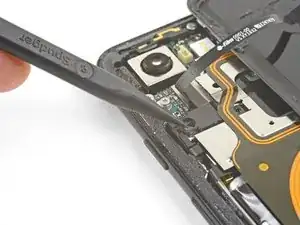
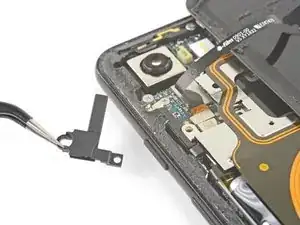
Usa la punta di uno spudger per sollevare e disconnettere dal suo zoccolo il connettore del sensore impronte digitali.
-
-
-
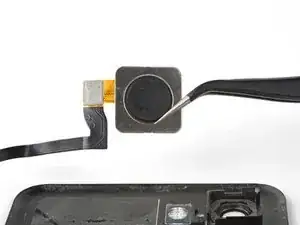
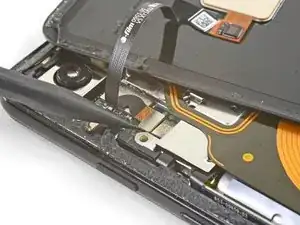
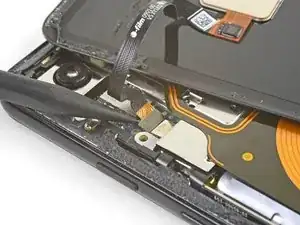
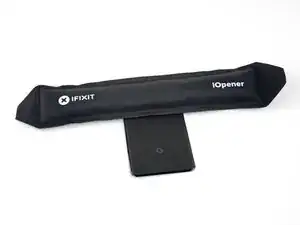
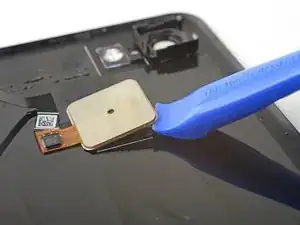
Scalda un iOpener e applicalo sul retro del sensore impronte per circa un minuto per ammorbidire l'adesivo che lo tiene in posizione.
-
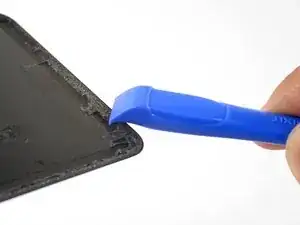
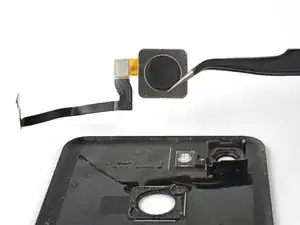
Inserisci il bordo di uno strumento di apertura sotto il sensore impronte digitali e fai leva per allentarlo dalla cover posteriore.
-

Per riassemblare il tuo dispositivo, segui queste istruzioni in ordine inverso.
La riparazione non è andata come previsto? Dai un'occhiata alla nostra comunità Risposte Pixel 3 per trovare aiuto nella risoluzione dei problemi.

4 commenti
Is there any steps to be done on the software side? I did the replacement but I cannot see an option to setup fingerprint unlock.
Moe -
Hi Moe,
The fingerprint sensor setup should still remain the same. If you can’t any software setup option, it may mean that the phone doesn’t detect the fingerprint sensor hardware. Look over step 9 and carefully check that the connector is fully seated.
My NFC stopped working at the same time as the fingerprint sensor, because I accidentally broke the fingerprint sensor flexcable when replacing the battery.
I've now replaced the fingerprint sensor and flexcable, and it's working again -- but the NFC still doesn't work. I have no idea what to try next!
Hi Lisa!
The NFC and wireless coil attaches to the phone with spring contacts. I'd suggest checking if the contact pads clean and correctly aligned. Here's a step depicting them. Since they're spring contacts, they also require some force to keep them connected to the phone. If you have the back cover open, you can press against the area where the spring contacts are as you test to see if it's a contact issue.
Older devices may require 2 or more minutes with a very hot iOpener. Also note, the photo shows the opener on the FRONT of the phone. The heat needs to be applied to the back of the device!
Rick Johnson -
I just realized that I was trying to pry apart the front of my Pixel 3… and have separated the class from the display. ??♂️ Even though the rest of the directions show the back, it would be nice for the first picture to also show the back, just to be safe.
JR Raith -
Agreed, I’ve done exactly the same and completely broken my display. I probably should’ve paid more attention to the initial steps before diving in but the step could do with a new picture for sure.
Daniel Fryer -
Thanks for the comments! I’ll add a note in the step warning people to make sure to pry the back cover, not the screen.
Arthur Shi -
I prefer my favorite opening method with something like this. Dental floss. So thin it can slide in the gap. A little sawing to get it far enough past the edge to lift and get the first pick in.
John Hoffstetter -
I found another wonderful tool. I used something like medicine packaging which is aluminum foil with plastic. It’s thin and strong enough!
Christie Lin -
I also went for the hairdryer, dental floss, and then the provided picks and this worked. Not easy to get that initial seal broken but once that's done the rest is pretty easy.
James -
I needed 20 nerve wracking minutes with a hairdryer
Amy schneider -
My battery had bulged and opened the case for me!
Warmed it up a bit with hairdryer
Floss helped also.
David Lincer -
I found I wasn't able to get the edges hot enough. I ended up using my heat gun (for shrink tubing) instead.
Kurt Nowak -